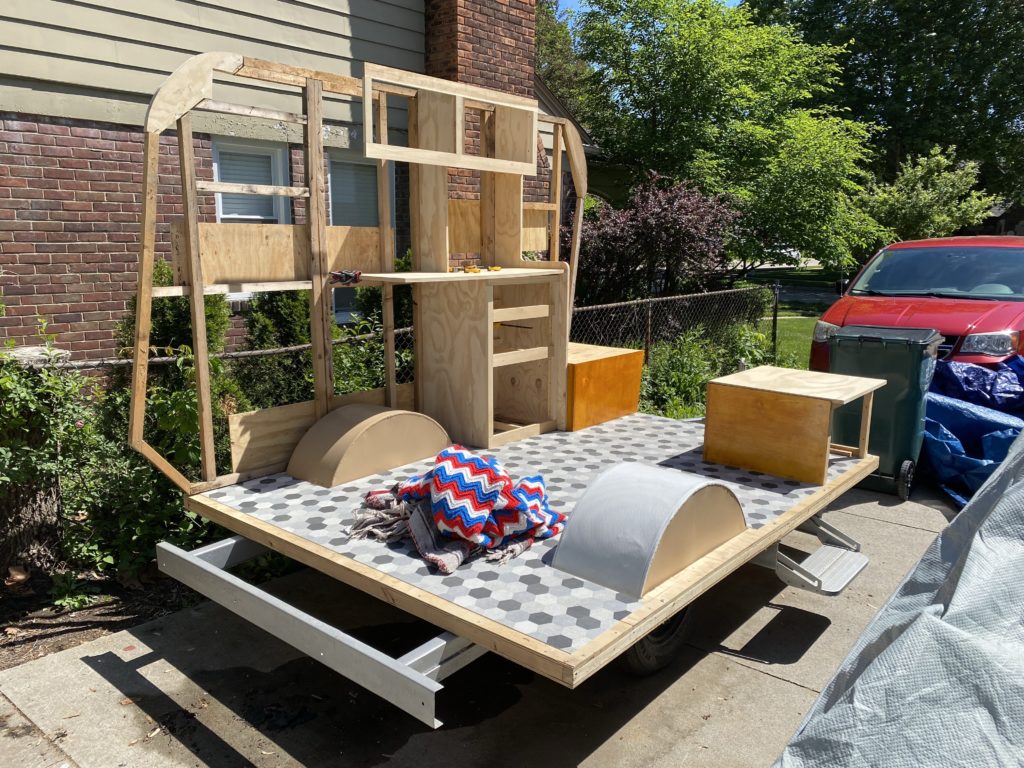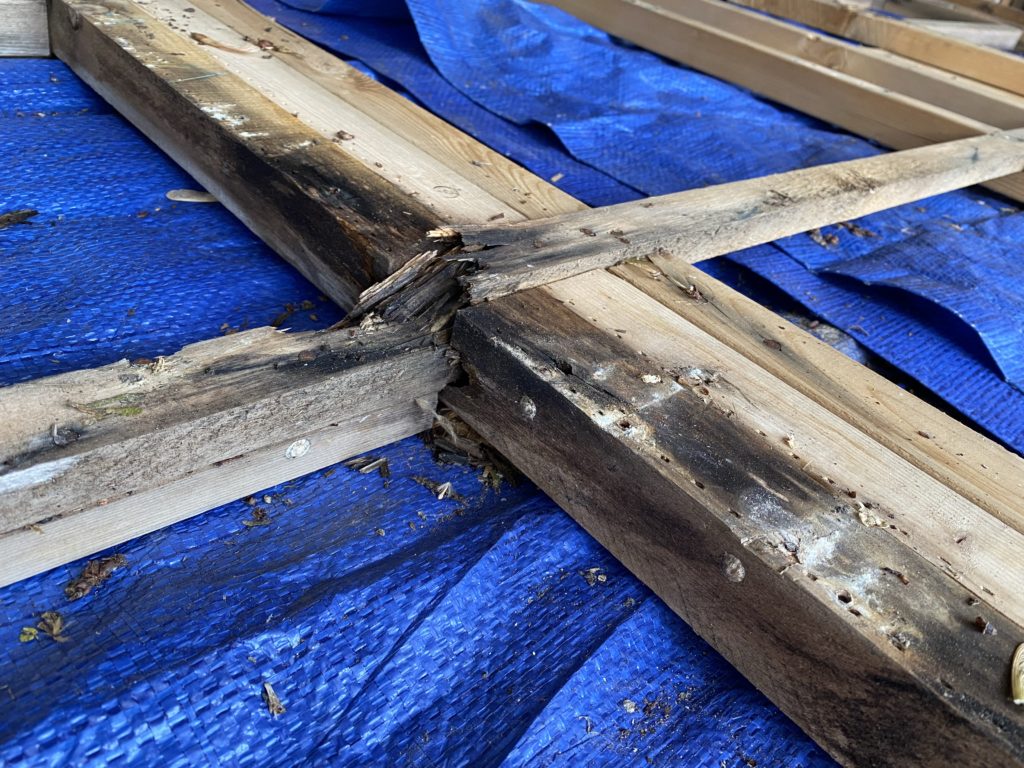
I had a couple of days near Memorial Day reserved to make some more progress on the trailer. The goal was to get the street-side wall repaired and installed. I mostly achieved that goal 🙂 My old buddy Pistol Pete came over to help me exhume the wall from behind my garage. Although I had put the walls up on blocks and tarped them well to withstand the winter, they had blown over several times in storms and spent a couple of months exposed to the elements so I wasn’t really sure what I’d find. Fortunately they were in the same shape I’d left them in, except for being covered in helicopters from the nearby trees.
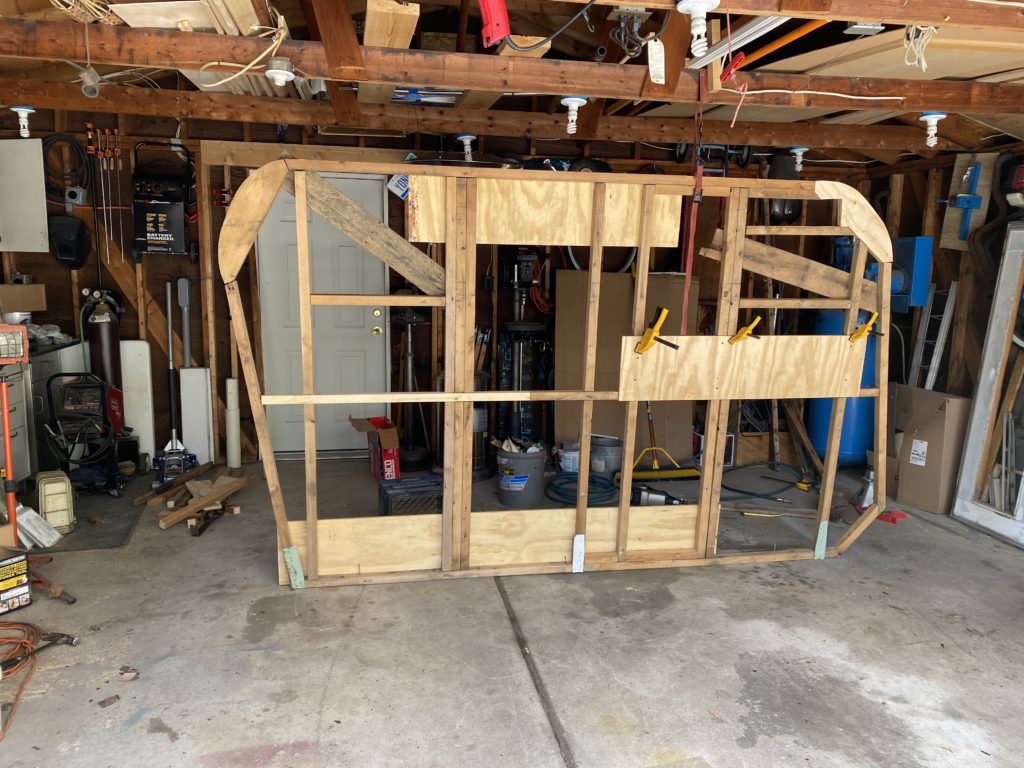
The first task was to brace the frame of the wall so that it wouldn’t lose its shape when I pulled the sheet metal off.
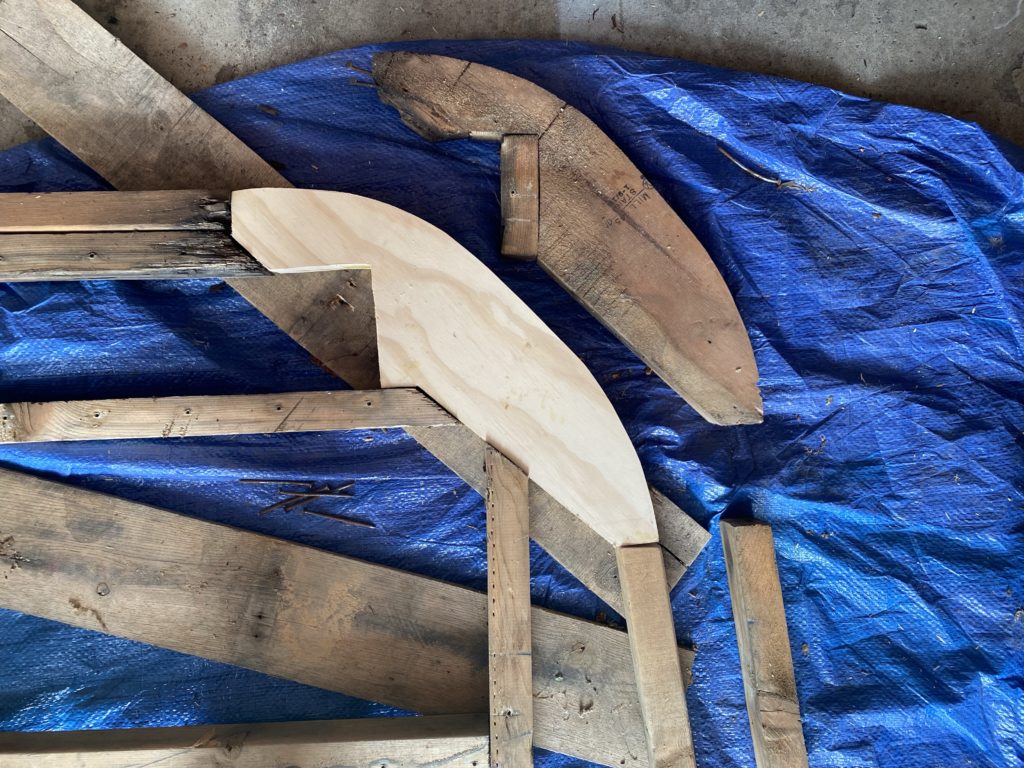
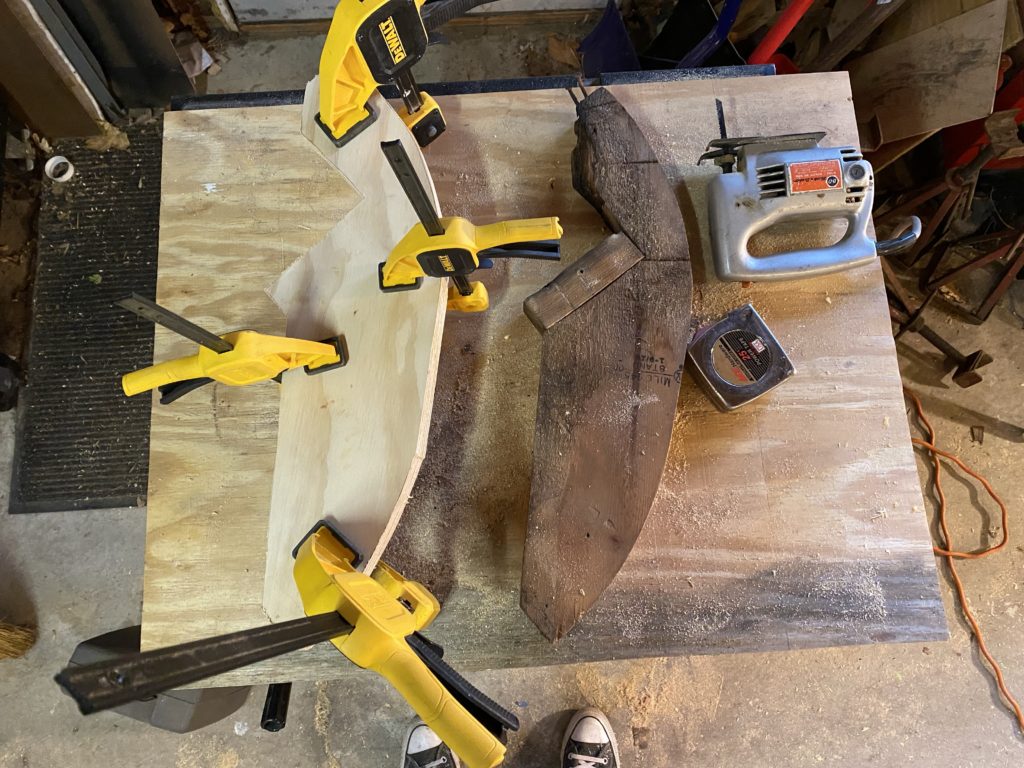
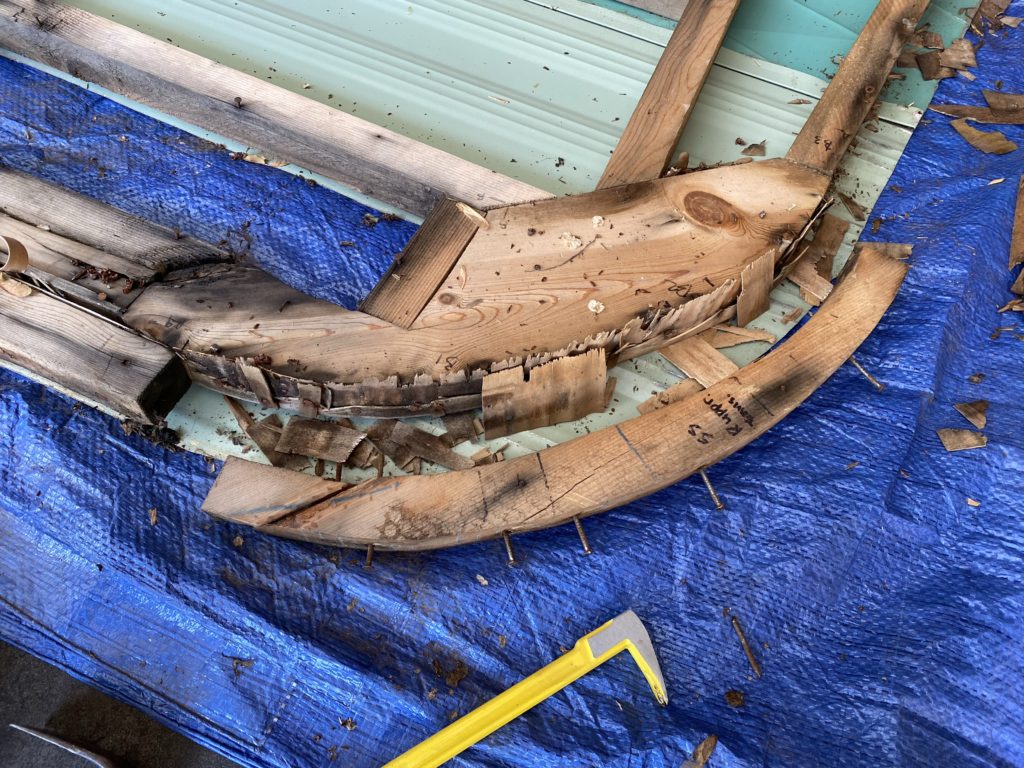
The next task was to verrrrrry carefully remove the outer curbing without destroying the rotted wood which I needed for a pattern. I used a cat’s paw (looks like a flat bladed screwdriver but has a split and angled head for grabbing small nails) and a small “slim jim” to pull nails. You can see the slim jim in the gallery, it’s a yellow hand tool.
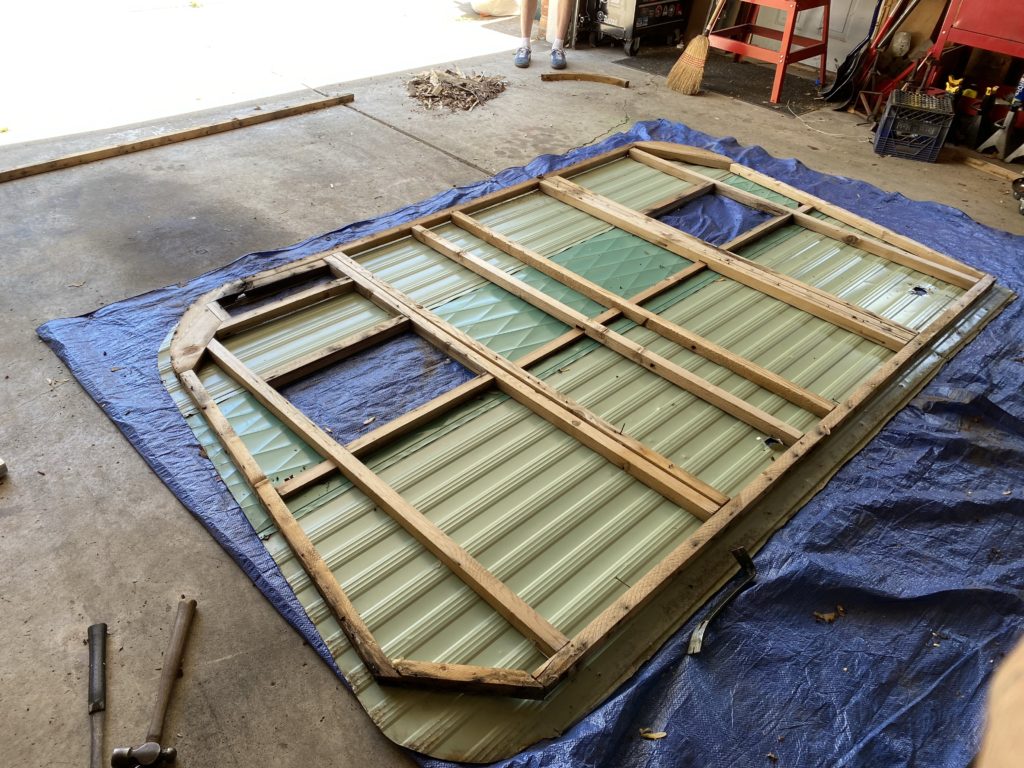
With the curbing removed, we flipped the wall over and removed the sheet metal. Then Pete had to leave. I needed to move the bracing to the other side of the wall since I would need to put the interior paneling on the inside of the wall. I stabilized the wall by hanging it from the rafters in the garage and flipped the braces. Then I layed the wall back down and one at a time fabricating new pieces for the wall.
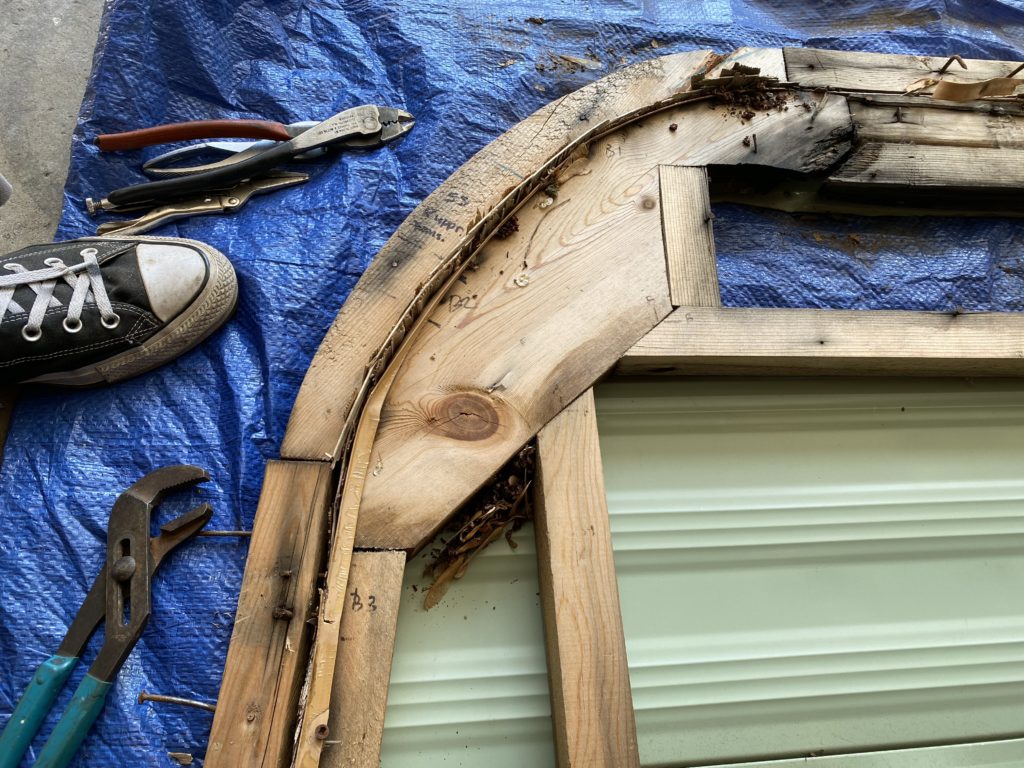
The 2x2s that they built this trailer with are 1 5/8″ square. Modern 2x2s are 1 1/2″ square. So I am reusing wood from the roof wrap wherever possible so that the sizes are consistent. I can then use all new wood for the roof and have it be a consistent 1 1/2″. Because of this it’s hard to see some of the repairs I made because the “new” parts are the same color as the existing frame. But I wound up replacing and sistering quite a few pieces. Along the way I drove a phillips screwdriver bit into my thumb when the drill slipped while I was sistering a repair on the footer. Ouch. I taped it up and kept working but it bled a lot and there is blood all over the wall now. I used two pieces of 3/4″ plywood to fabricate the radius pieces with an 1/8″ masonite sheet on top to make up for the gap (remember it’s all 1 5/8″).
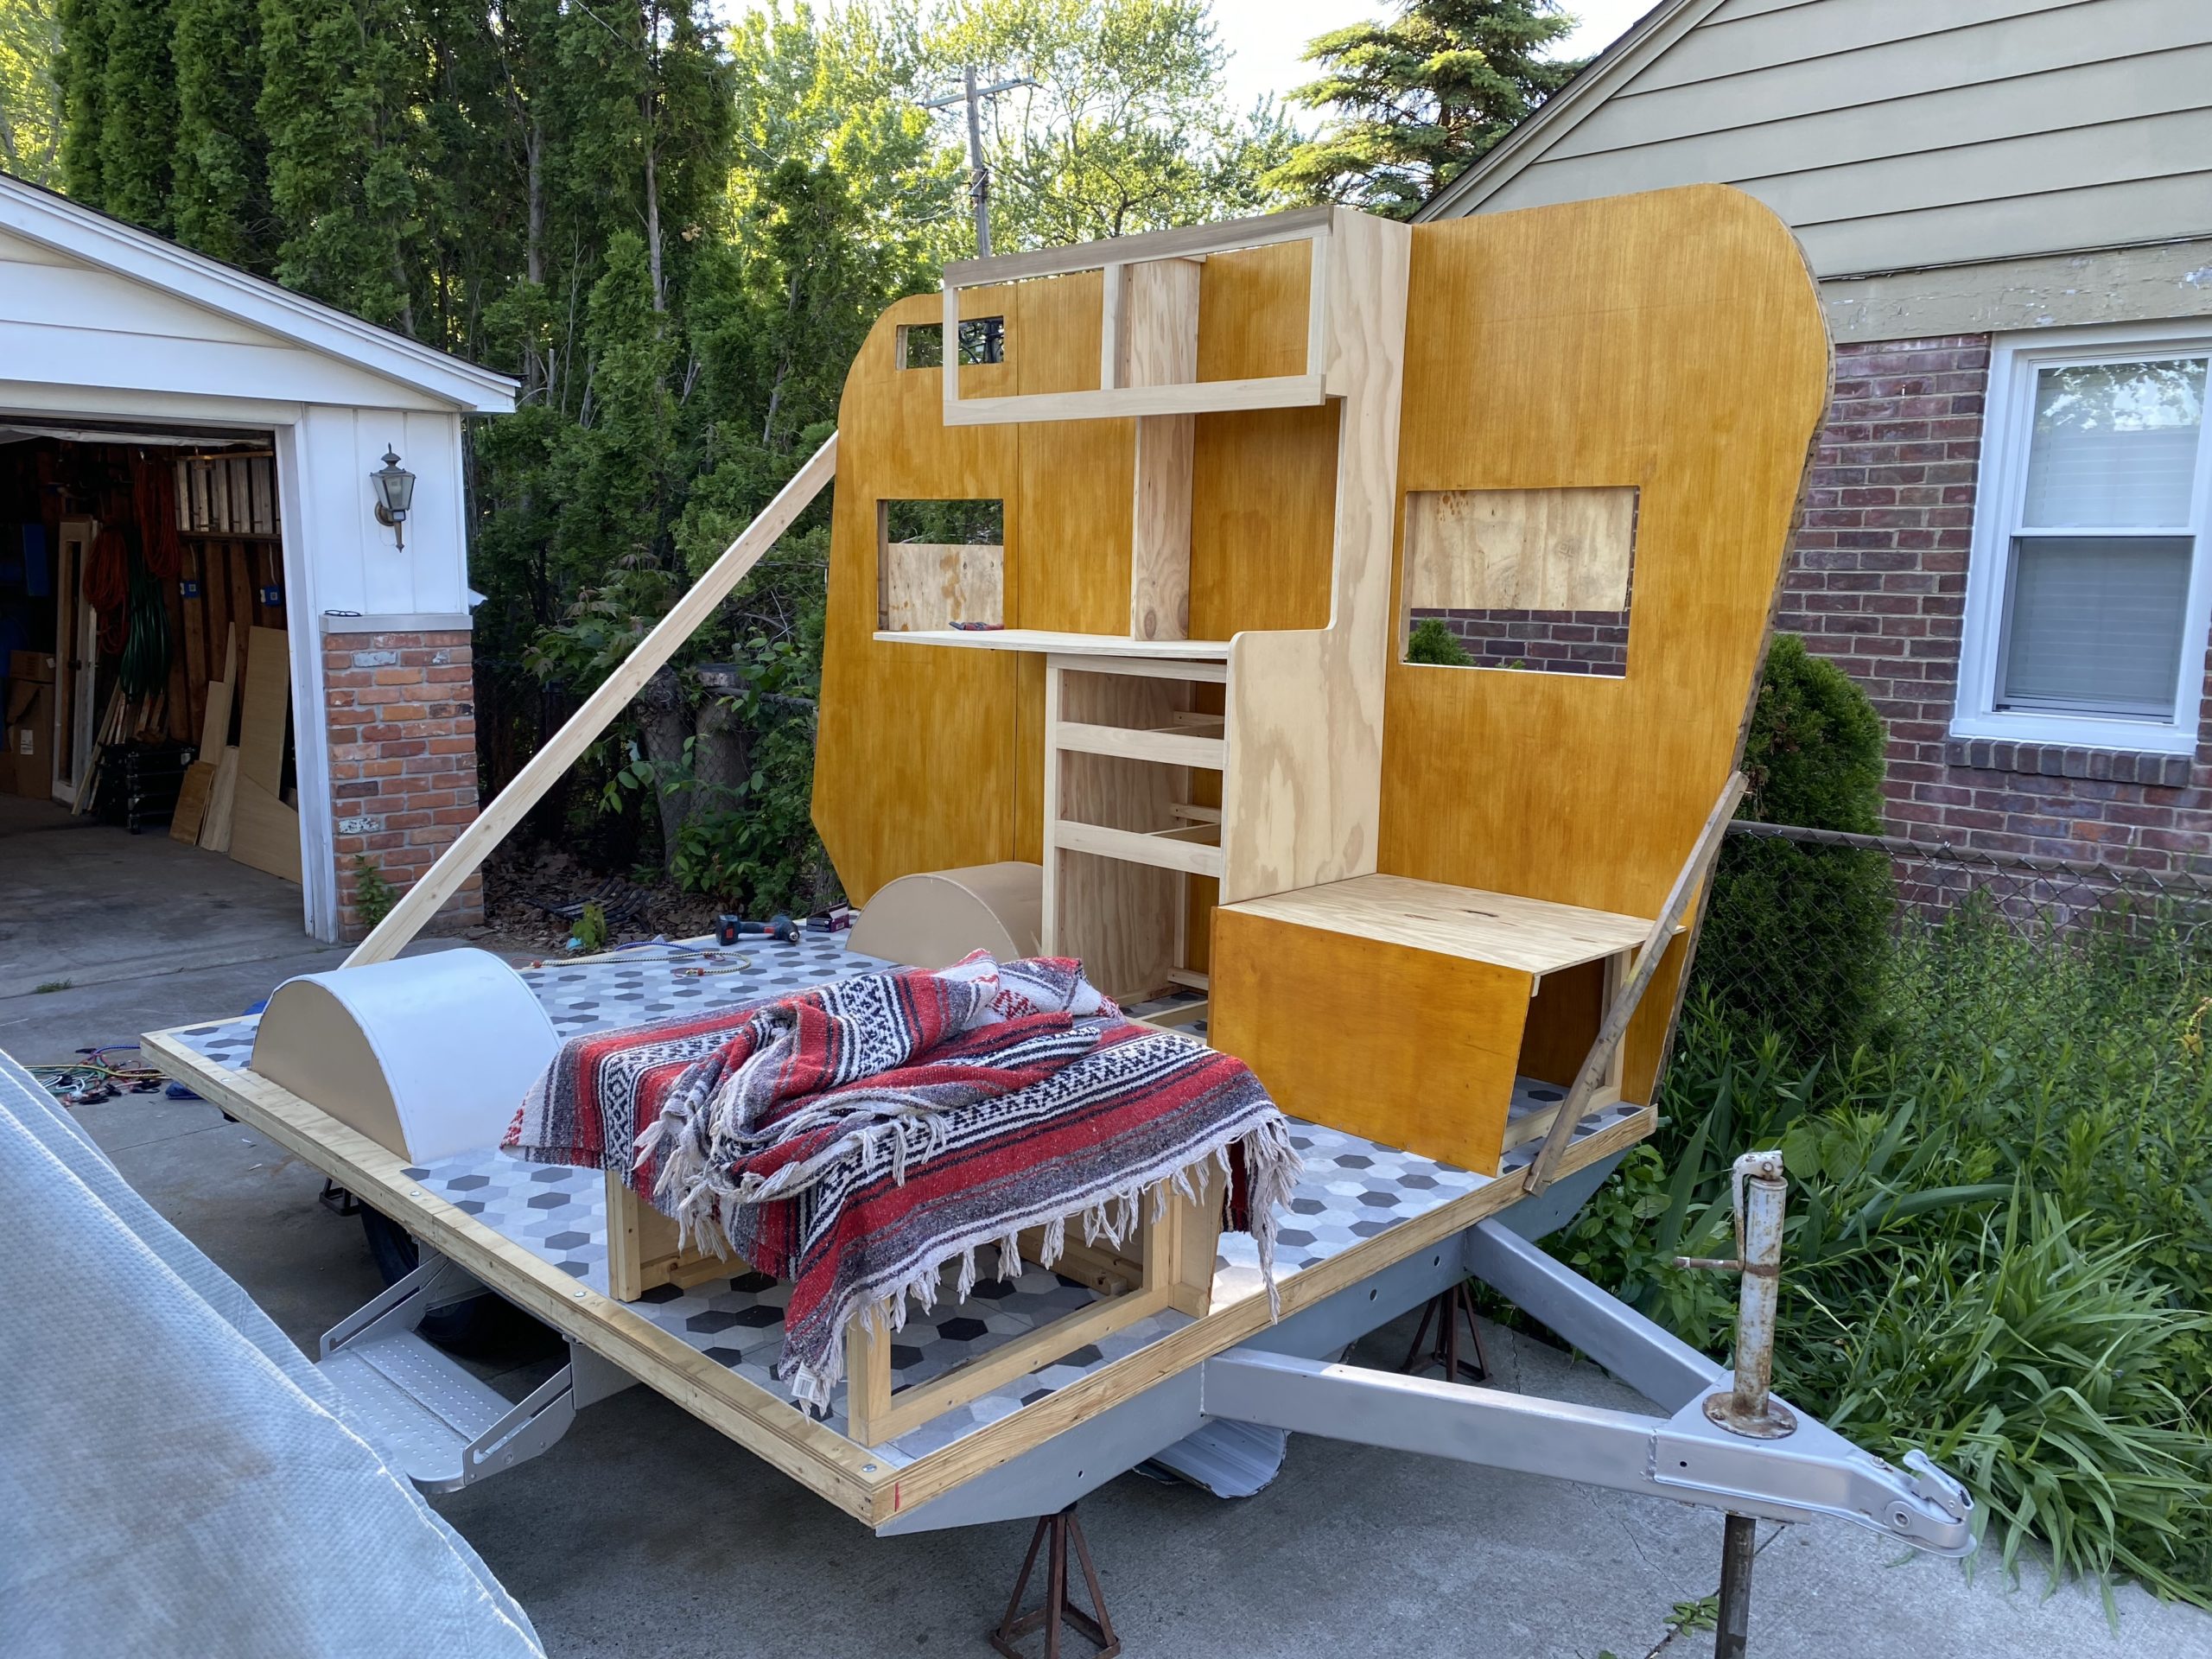
With the rot repaired, I test-fit the wall and clamped it in place. I found out that, despite my to-the-inch drawings, I had mounted the kitchenette two inches farther forward than I should have. As a result, I had to sister another stud in so the mounts in the back of the kitchenette would have solid wood to anchor to.
I pulled the wall and put on the luan wall skin, and cut it to fit. Using a router, I went around the edge and removed the areas for the windows as well. I put two coats of Zinser amber stain on (needs three but I ran out).
This was a huge milestone for me because now I can really start to see what it will look like when it’s fininshed, and also because I was getting really tired of looking at the walls just sitting behind the garage. It feels like this project finally has a little momentum! The next task will be to build the cabinet for the curb side and get it anchored. Then I can do this same treatment to the curb side wall.